
Here is the third flintlock I have built from a kit. This is Jim Chambers English Fowler / Officers Fusil. www.flintlocks.com A fowler (shotgun) is a smoothbore gun for shooting shot at birds or big .61 caliber round balls at things that don’t fly. Fusil means light flintlock. This gun weighs 7 pounds and 12.5 ounces; in the wing-shooting world, this is hardly a light gun, but it handles well in the field. I picked this particular gun because the lines, or style of the gun, appealed to me. Being an aficionado of the English double gun, I lean toward guns with smooth, elegant architecture, and this gun fits that bill. My goal is to take a pheasant and later a turkey with it. I have already bagged a morning dove; it is super fun to shoot.
Putting this thing together was a ton of fun. The Chambers kit requires much more expertise to assemble than a Kibler, and it greatly challenged my ability and level of skill. The stock required much more detailed fitting; the barrel tenons and front sight required soldering; and the screw holes had to be located, drilled, and tapped. This kit was a great learning experience, and I would say I spent 30% of my time putting it together and 70% fixing things I screwed up. I give myself a C+ or B- on the result: a finished gun that I am pleased with and hope to put to use for years to come. Below, I describe some of the challenges and how I overcame them. Hopefully, this will be helpful for others who take this on.

I had a heck of a time getting the lock to fit correctly in the mortise. When I had it properly installed, the lock was proud above the wood, and the inletting around the lock was sloppy. I removed too much of the wood’s face, and from the top, you could see into the workings of the lock. The solution was to take a piece of walnut and inlet the lock into it. Then that was glued onto the stock and sanded down to blend in. I added a piece of ebony, as you can see, because I am so classy. The result turned out much better than I expected.
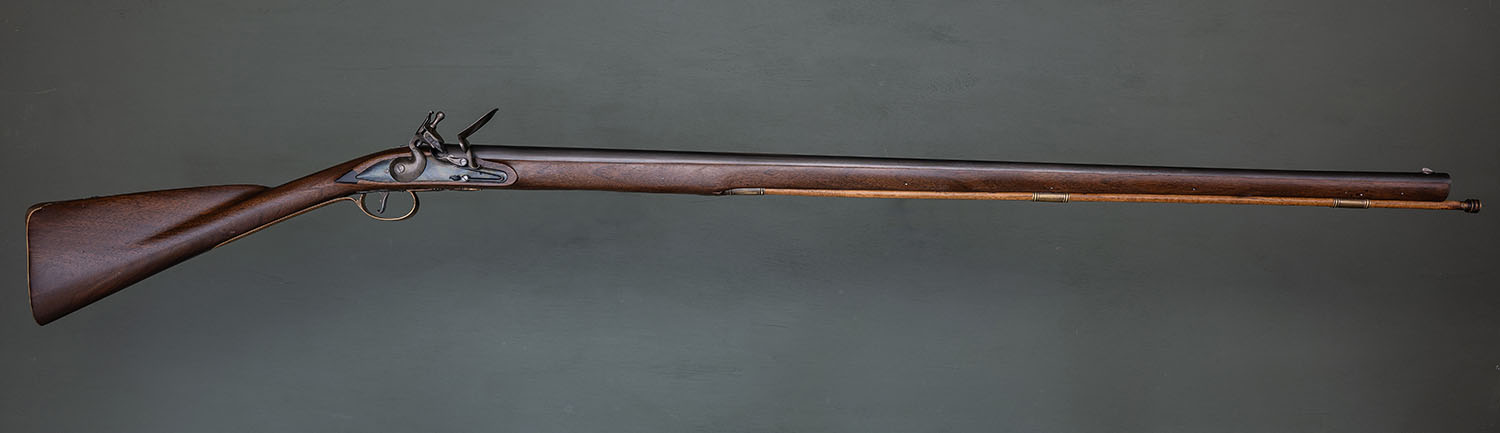
I love the lines of this gun. The barrel is 41″, which is 5″ shorter than other models, but still plenty long!

One of my first screw ups was to place the barrel bolt too far forward on the tang, and the head of the bolt did not set flush on the tang. I created a ramp with a countersink drill bit so it sits below the surface of the tang. It turned out OK. Also, when drilling and tapping, be sure you use a tapping lubricant. I broke off a tap while trying to cut screw threads, and that broken tap was impossible to remove. I had to order a new part, but with tapping oil, the threads cut easily. This gun has a round barrel, and the rings at the breech had to be filed down so the lock would fit flush under the touch hole.
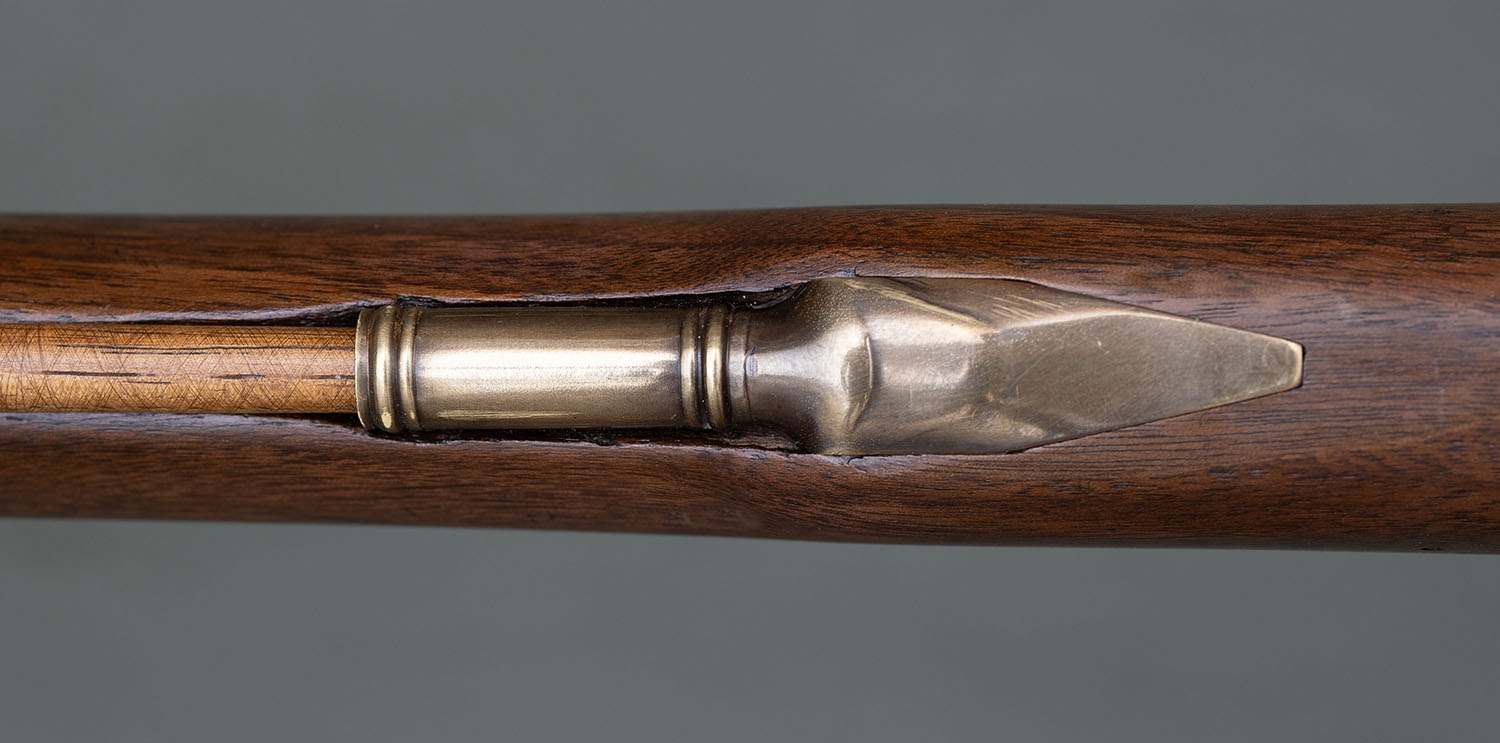
Another awesome mistake was taking too much wood from the forend, and the ram rod pipe’s extension sat above the wood it was supposed to be inlet into, as seen in the picture below. The solution, again, was to inlet that extension into a piece of walnut, glue it to the stock, and sand it down to blend in. Again, this turned out better than I expected!


Here is the front sight that had to be soldered on. I learned how to solder, and it is pretty cool to be able to secure these little pieces to the barrel. I put a 20-gauge jagged tip on the ramrod, surely not historically correct, but practical for loading in the field. Also, the end of the ramrod that goes into the stock had to be thinned in diameter to fit in and avoid the forward lock screw. That took some time to figure out. This barrel needs to be cleaned up.
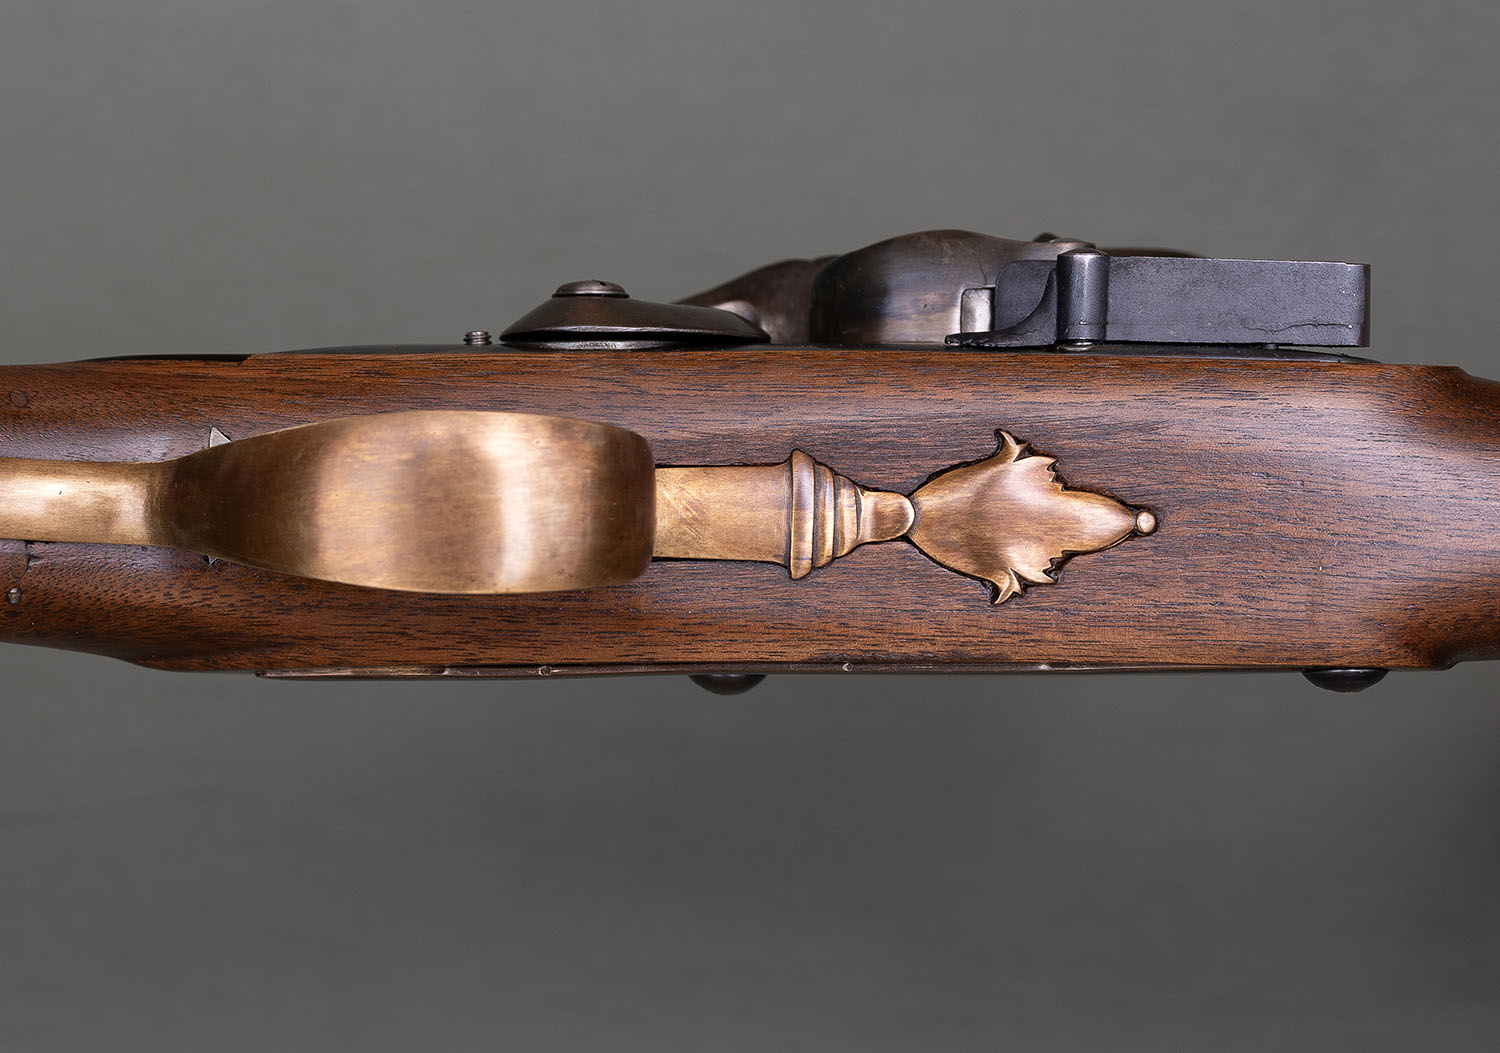
Here is the trigger guard finial; I thought it would be challenging to inlet, but it wasn’t that difficult. Of course, low standards on inletting precision make the job easier!
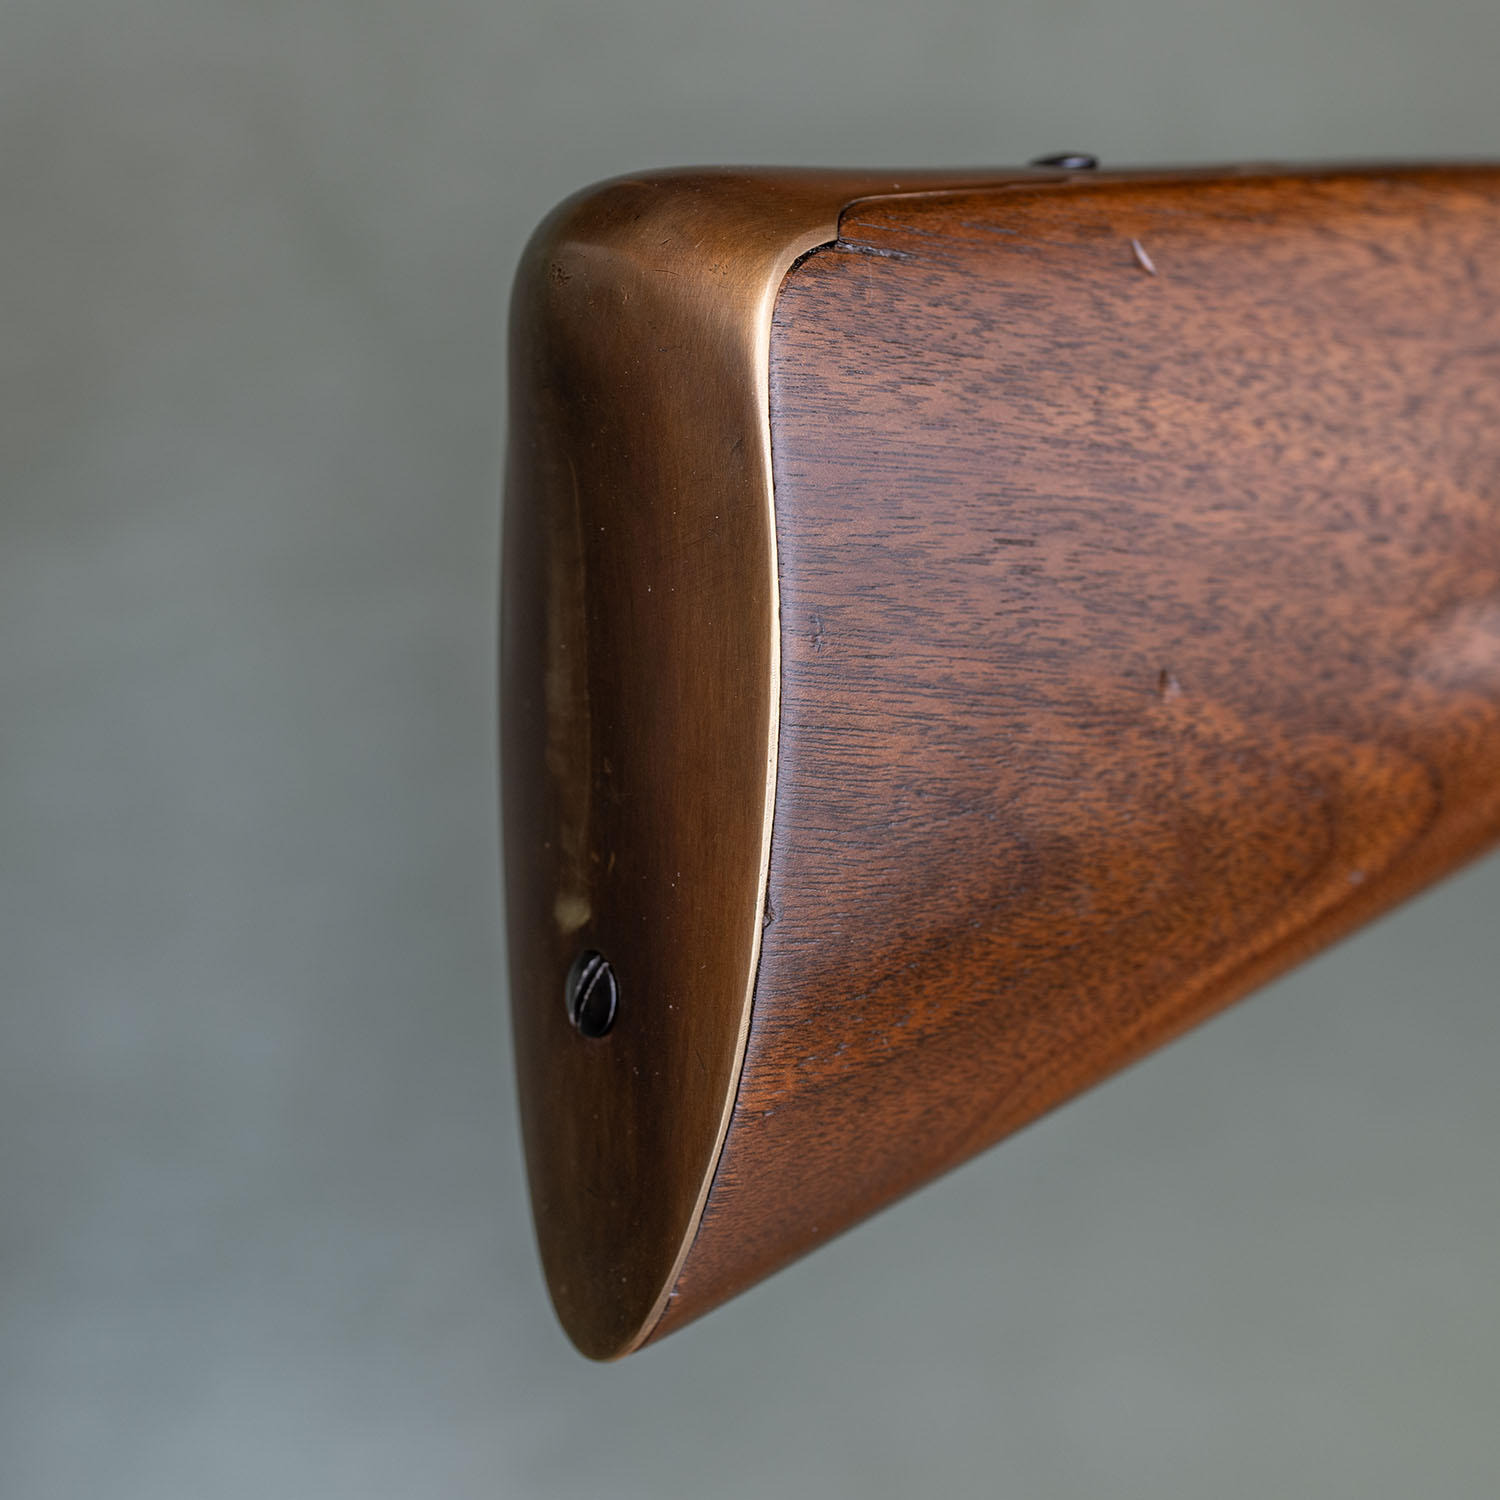
The butt installation was not difficult, but took some work to get it on. The screws need to be countersunk a bit more.

The side plate inletting was a challenge, and you can see here that the result is a bit sloppy. I may inlet that again into a piece of walnut and glue it to the gun. But maybe not.
Chambers vs Kibler
The Kibler kits are precisely cut on CNC machines, and everything fits together with minimal work. Things like barrel tenons, sights, and butt plates are already installed. So if you are not an accomplished builder and want a great gun with a lower risk of botching the project, then look to Jim Kibler’s kits.
Chambers kits will challenge the builder, but are great guns when completed. If you are looking for a kit to enhance your gun-building skills and are OK with a result that may not be so nice because of your inexperience, then look to Chamber’s kits. Also, it is not a bad idea for your first kit to be a Chambers, but you will be put to the test.
I hope my commentary made sense and that this is helpful.
Thanks for visiting the Birdhunter!
